Natural progression for someone doing Home Assistant home automation is probably going to be jumping into ESPHome and ESP8266/ESP32 based devices. ESP devices and accessories are shockingly cheap for what they can do. and they’re already integrated into a lot of WiFi smart devices as is today. Dev parts are readily available, they just require a bit of knowledge on how they work and a drive to learn/troubleshoot.
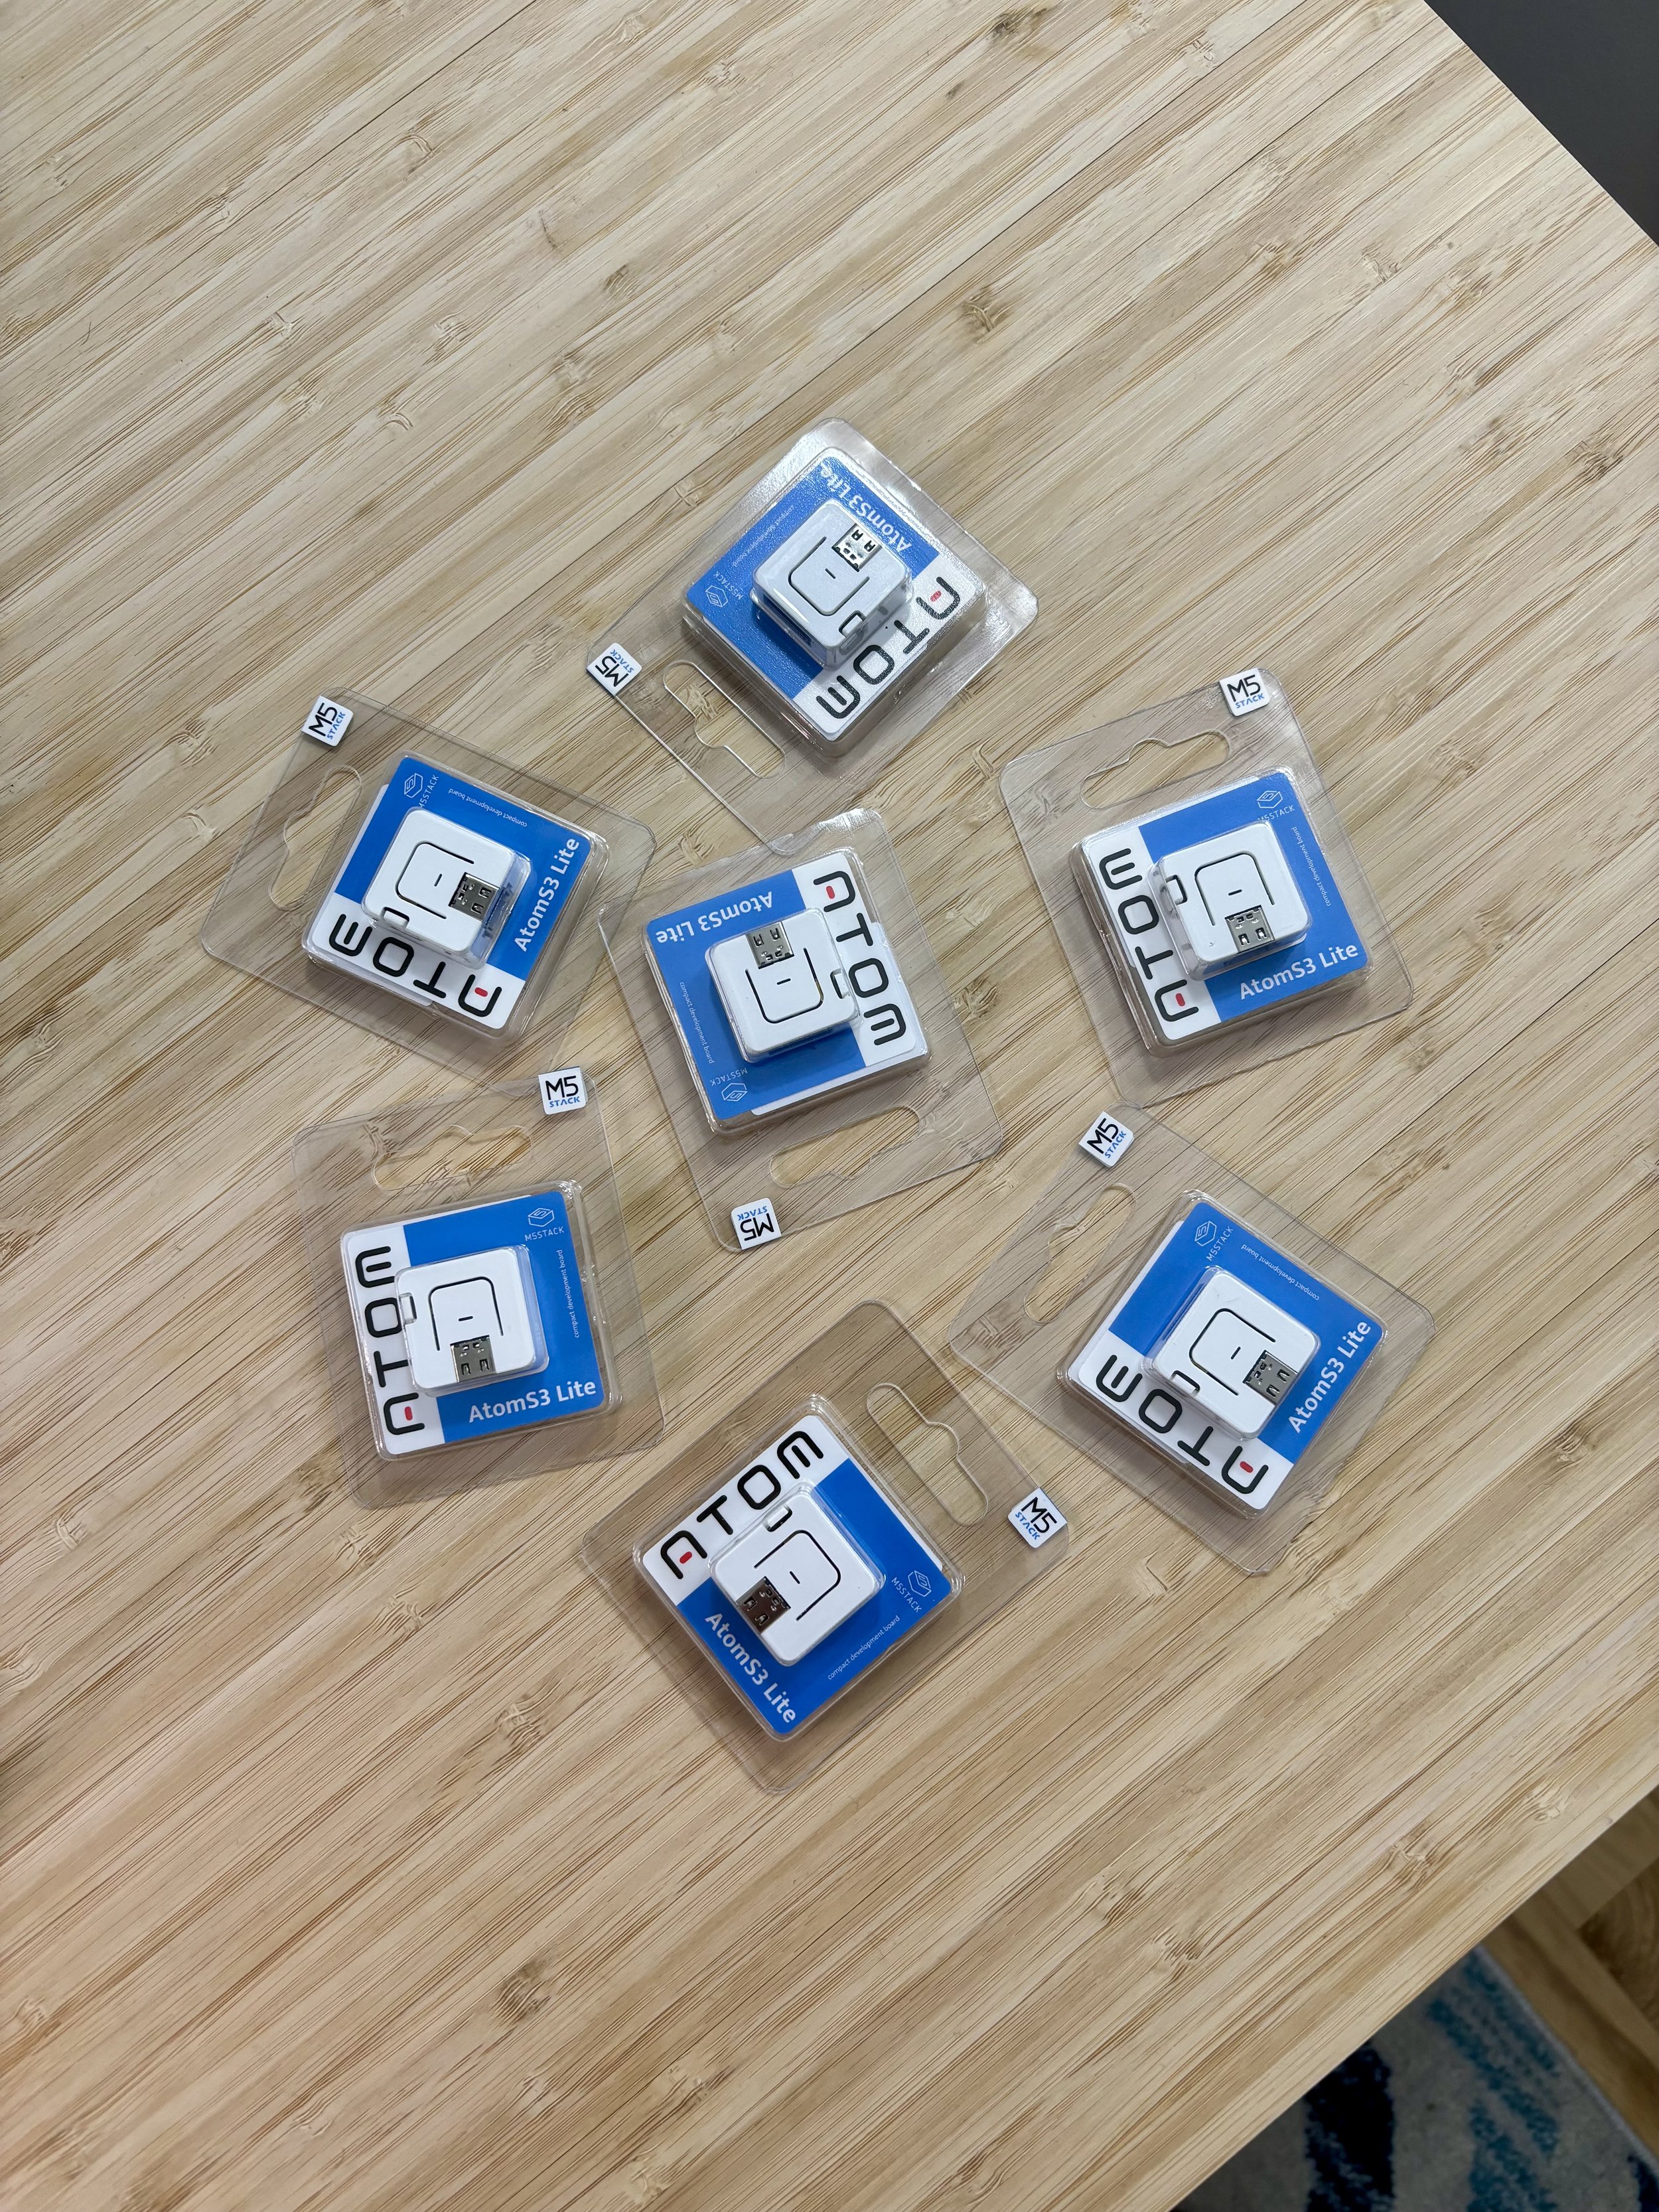
I decided to pick up some goodies to get started on a few little projects that couldn’t easily be solved with existing products - Namely my basement automator. My first order was a bunch of M5Stack gear from Digikey, along with some D1 gear from Universal Solder and AliExpress. The M5Stack stuff has been a touch more expensive than regular ESP devices, but it’s polished hardware, very plug and play with all accessories supporting grove connectors, and I personally find it’s relatively well documented. So I built my first few devices out of that. I got started with a simple CO2 sensor utilizing the M5Stack CO2 sensor and an AtomS3 Lite:
This was just placed inside a cheap project box - The CO2 sensor is secured with a couple M3 bolts. Since this was sitting in the living room, I also added a bluetooth proxy function to allow access to BLE devices from Home Assistant. My code for this is below:
esphome:
  name: "livingroomco2bluetoothproxy"
  friendly_name: BluetoothProxy
  platformio_options:
    board_build.flash_mode: dio

esp32:
  board: esp32-s3-devkitc-1
  framework:
    type: esp-idf


# Enable logging
logger:

# Enable Home Assistant API
api:
  encryption:
    key: "APIKeyHere"

ota:
  password: "SecretPasswordHere"

wifi:
  ssid: !secret wifi_ssid
  password: !secret wifi_password
  manual_ip:
    static_ip: IPAddressHere
    gateway: GatewayHere
    subnet: 255.255.255.0

esp32_ble_tracker:
  scan_parameters:
    #interval: 1100ms
    #window: 1100ms
    active: true

bluetooth_proxy:
  active: true

i2c:
  sda: 2
  scl: 1

sensor:
  - platform: scd4x
    id: scd40
    automatic_self_calibration: False
    co2:
      name: "CO2"
      accuracy_decimals: 1
    temperature:
      name: "Temperature"
      accuracy_decimals: 2
    humidity:
      name: "Humidity"
      accuracy_decimals: 1
    address: 0x62
    update_interval: 10s
I was originally only able to get this working on the Arduino framework, but adding the board build flash mode of dio let me boot esp-idf. This little thing sits plugged into the soundbar near the TV, and reports on CO2 levels in the common area. I’ve built an automation that triggers the HRV to kick into high mode if CO2 level is detected above 1000ppm, until it falls below 800ppm. CO2 is likely the fastest way to determine if a room is packed, and having more frequent air exchanges is a good thing to keep air fresh. It also functions as a bluetooth proxy, letting me tap into current and future BLE devices and patch them into HomeAssistant (Hello, Inkbird wireless BBQ thermometer!). The only issue I want to try addressing is the extra heat generated by the ESP32 chip itself is throwing off the temperature readings. I may look at some sleep options and maybe reduce the checks down to every minute or so.
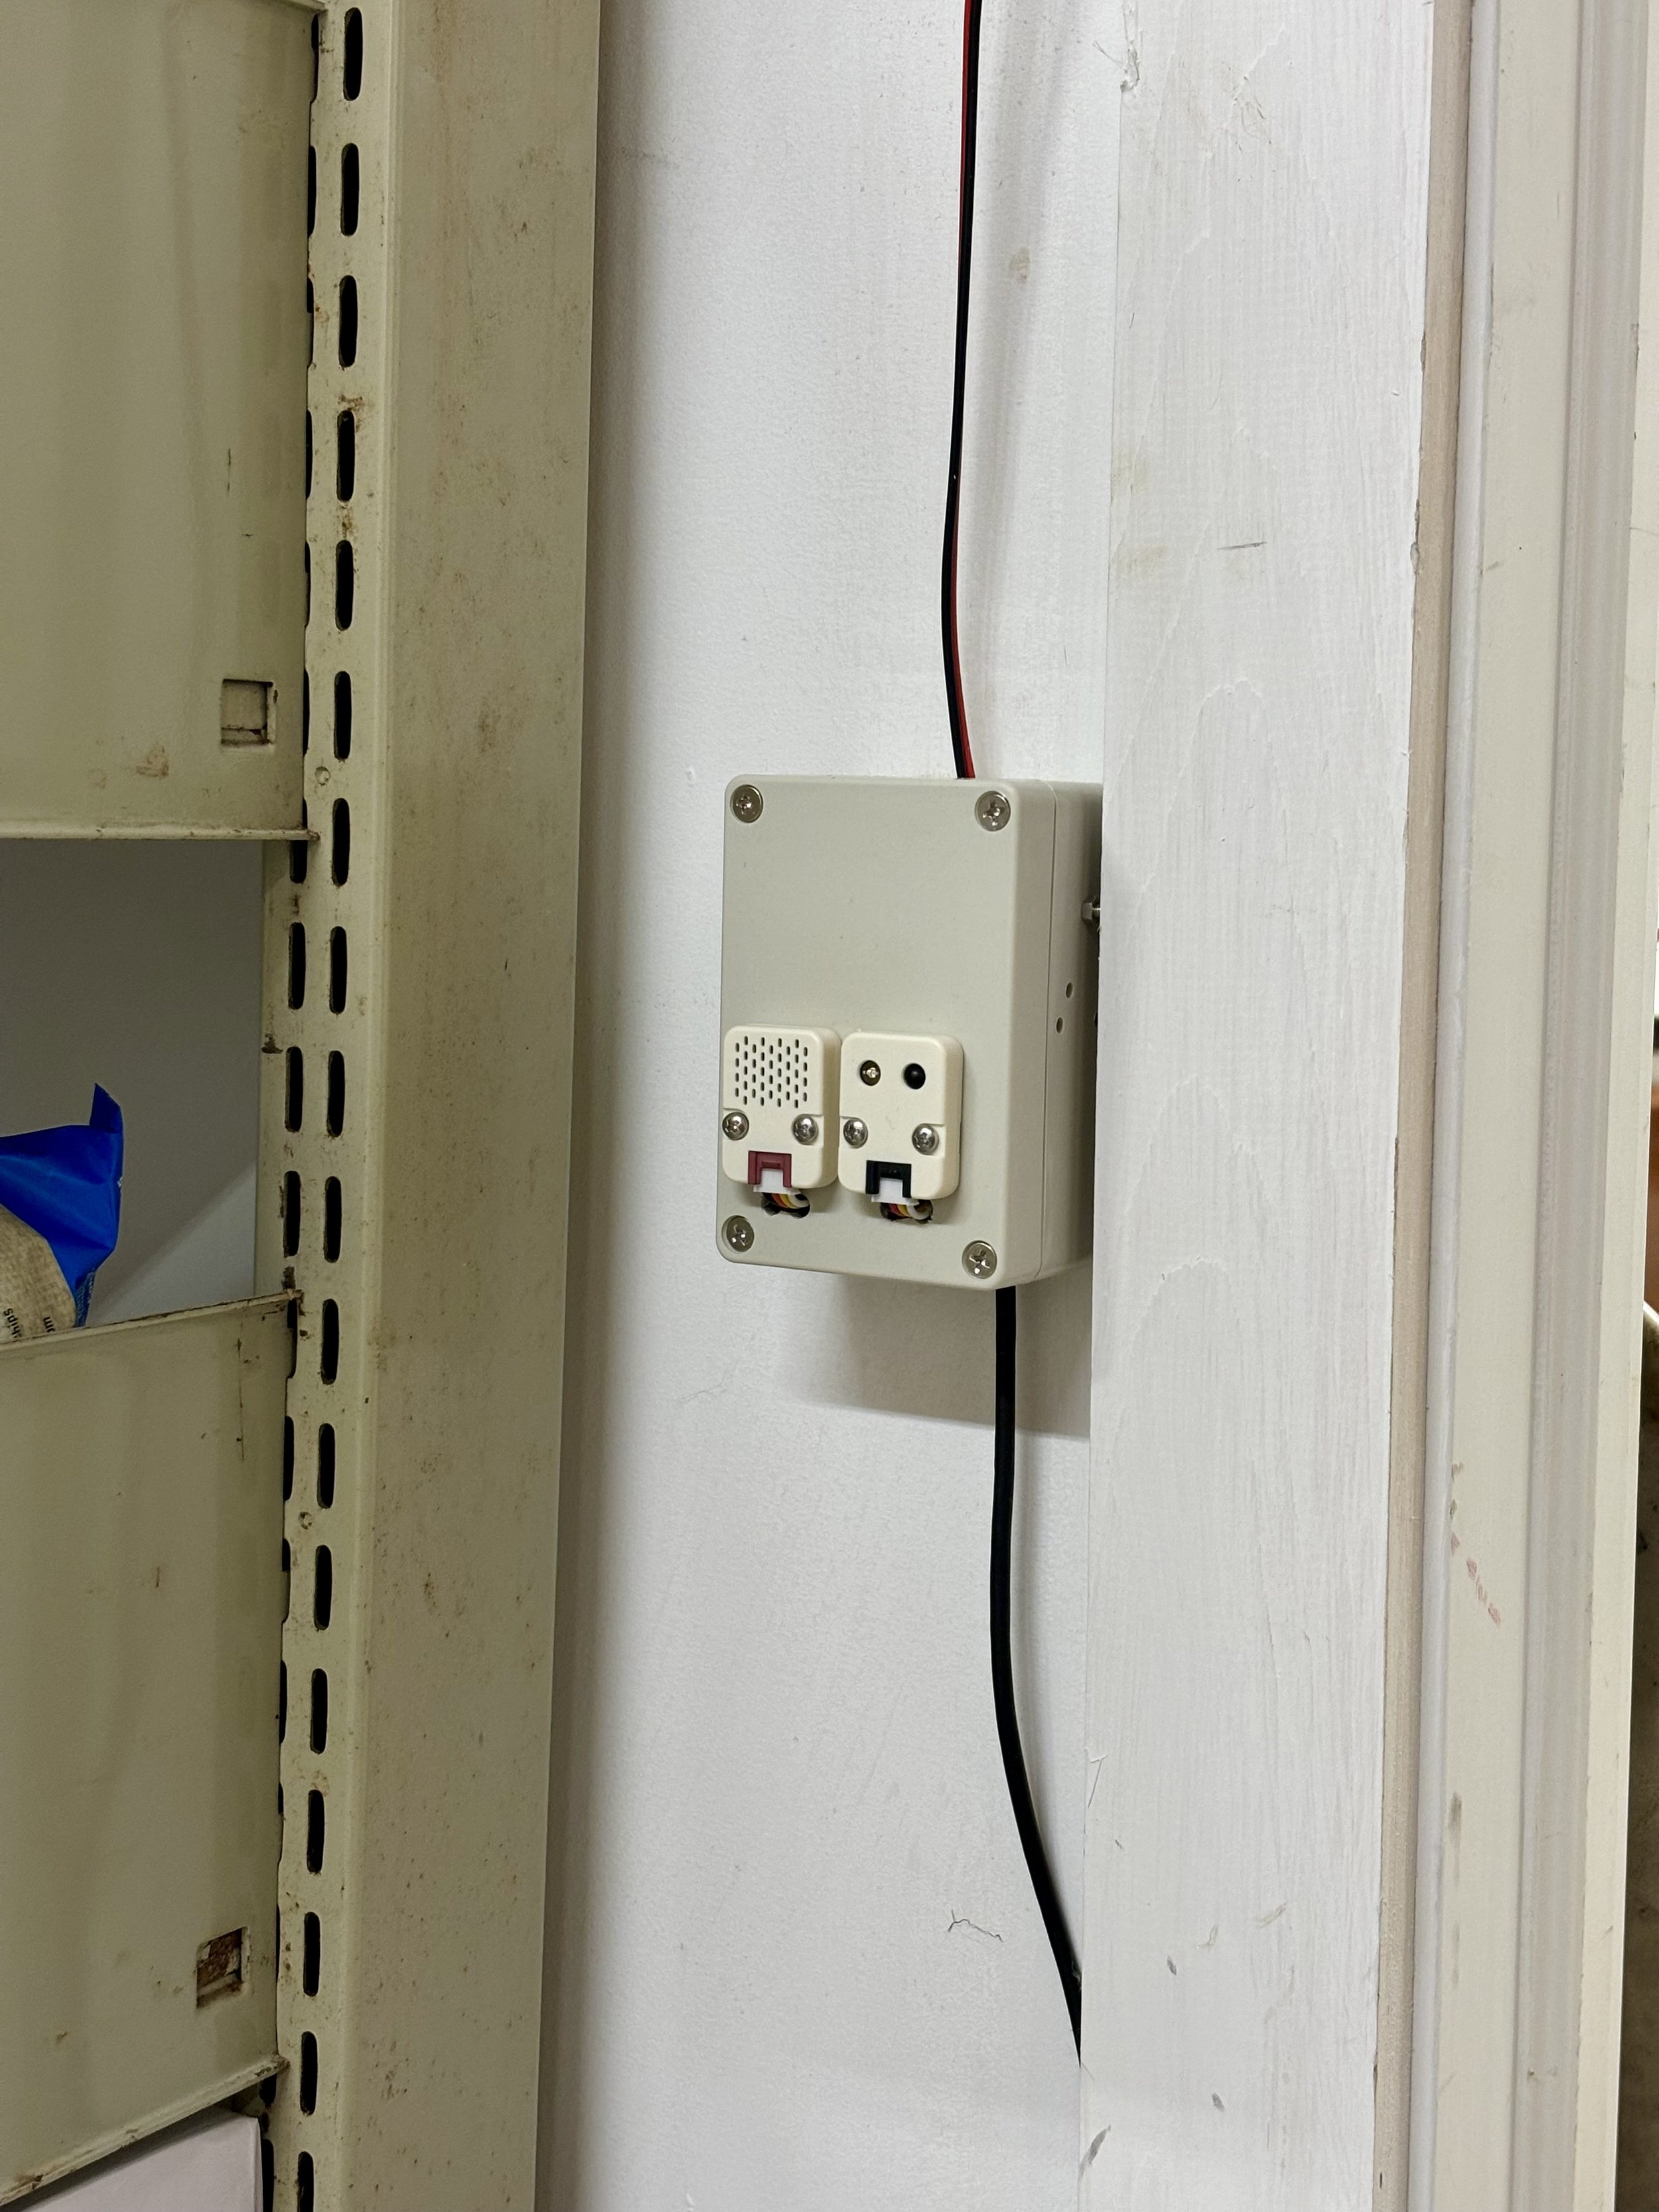
I may have mis-drilled my junction box.
Of course to control the HRV override I needed to build something out. I had a few things to accomplish in the basement:
HRV override with a relay.
Dehumidifer control.
Temperature/humidity readings.
Bluetooth proxy.
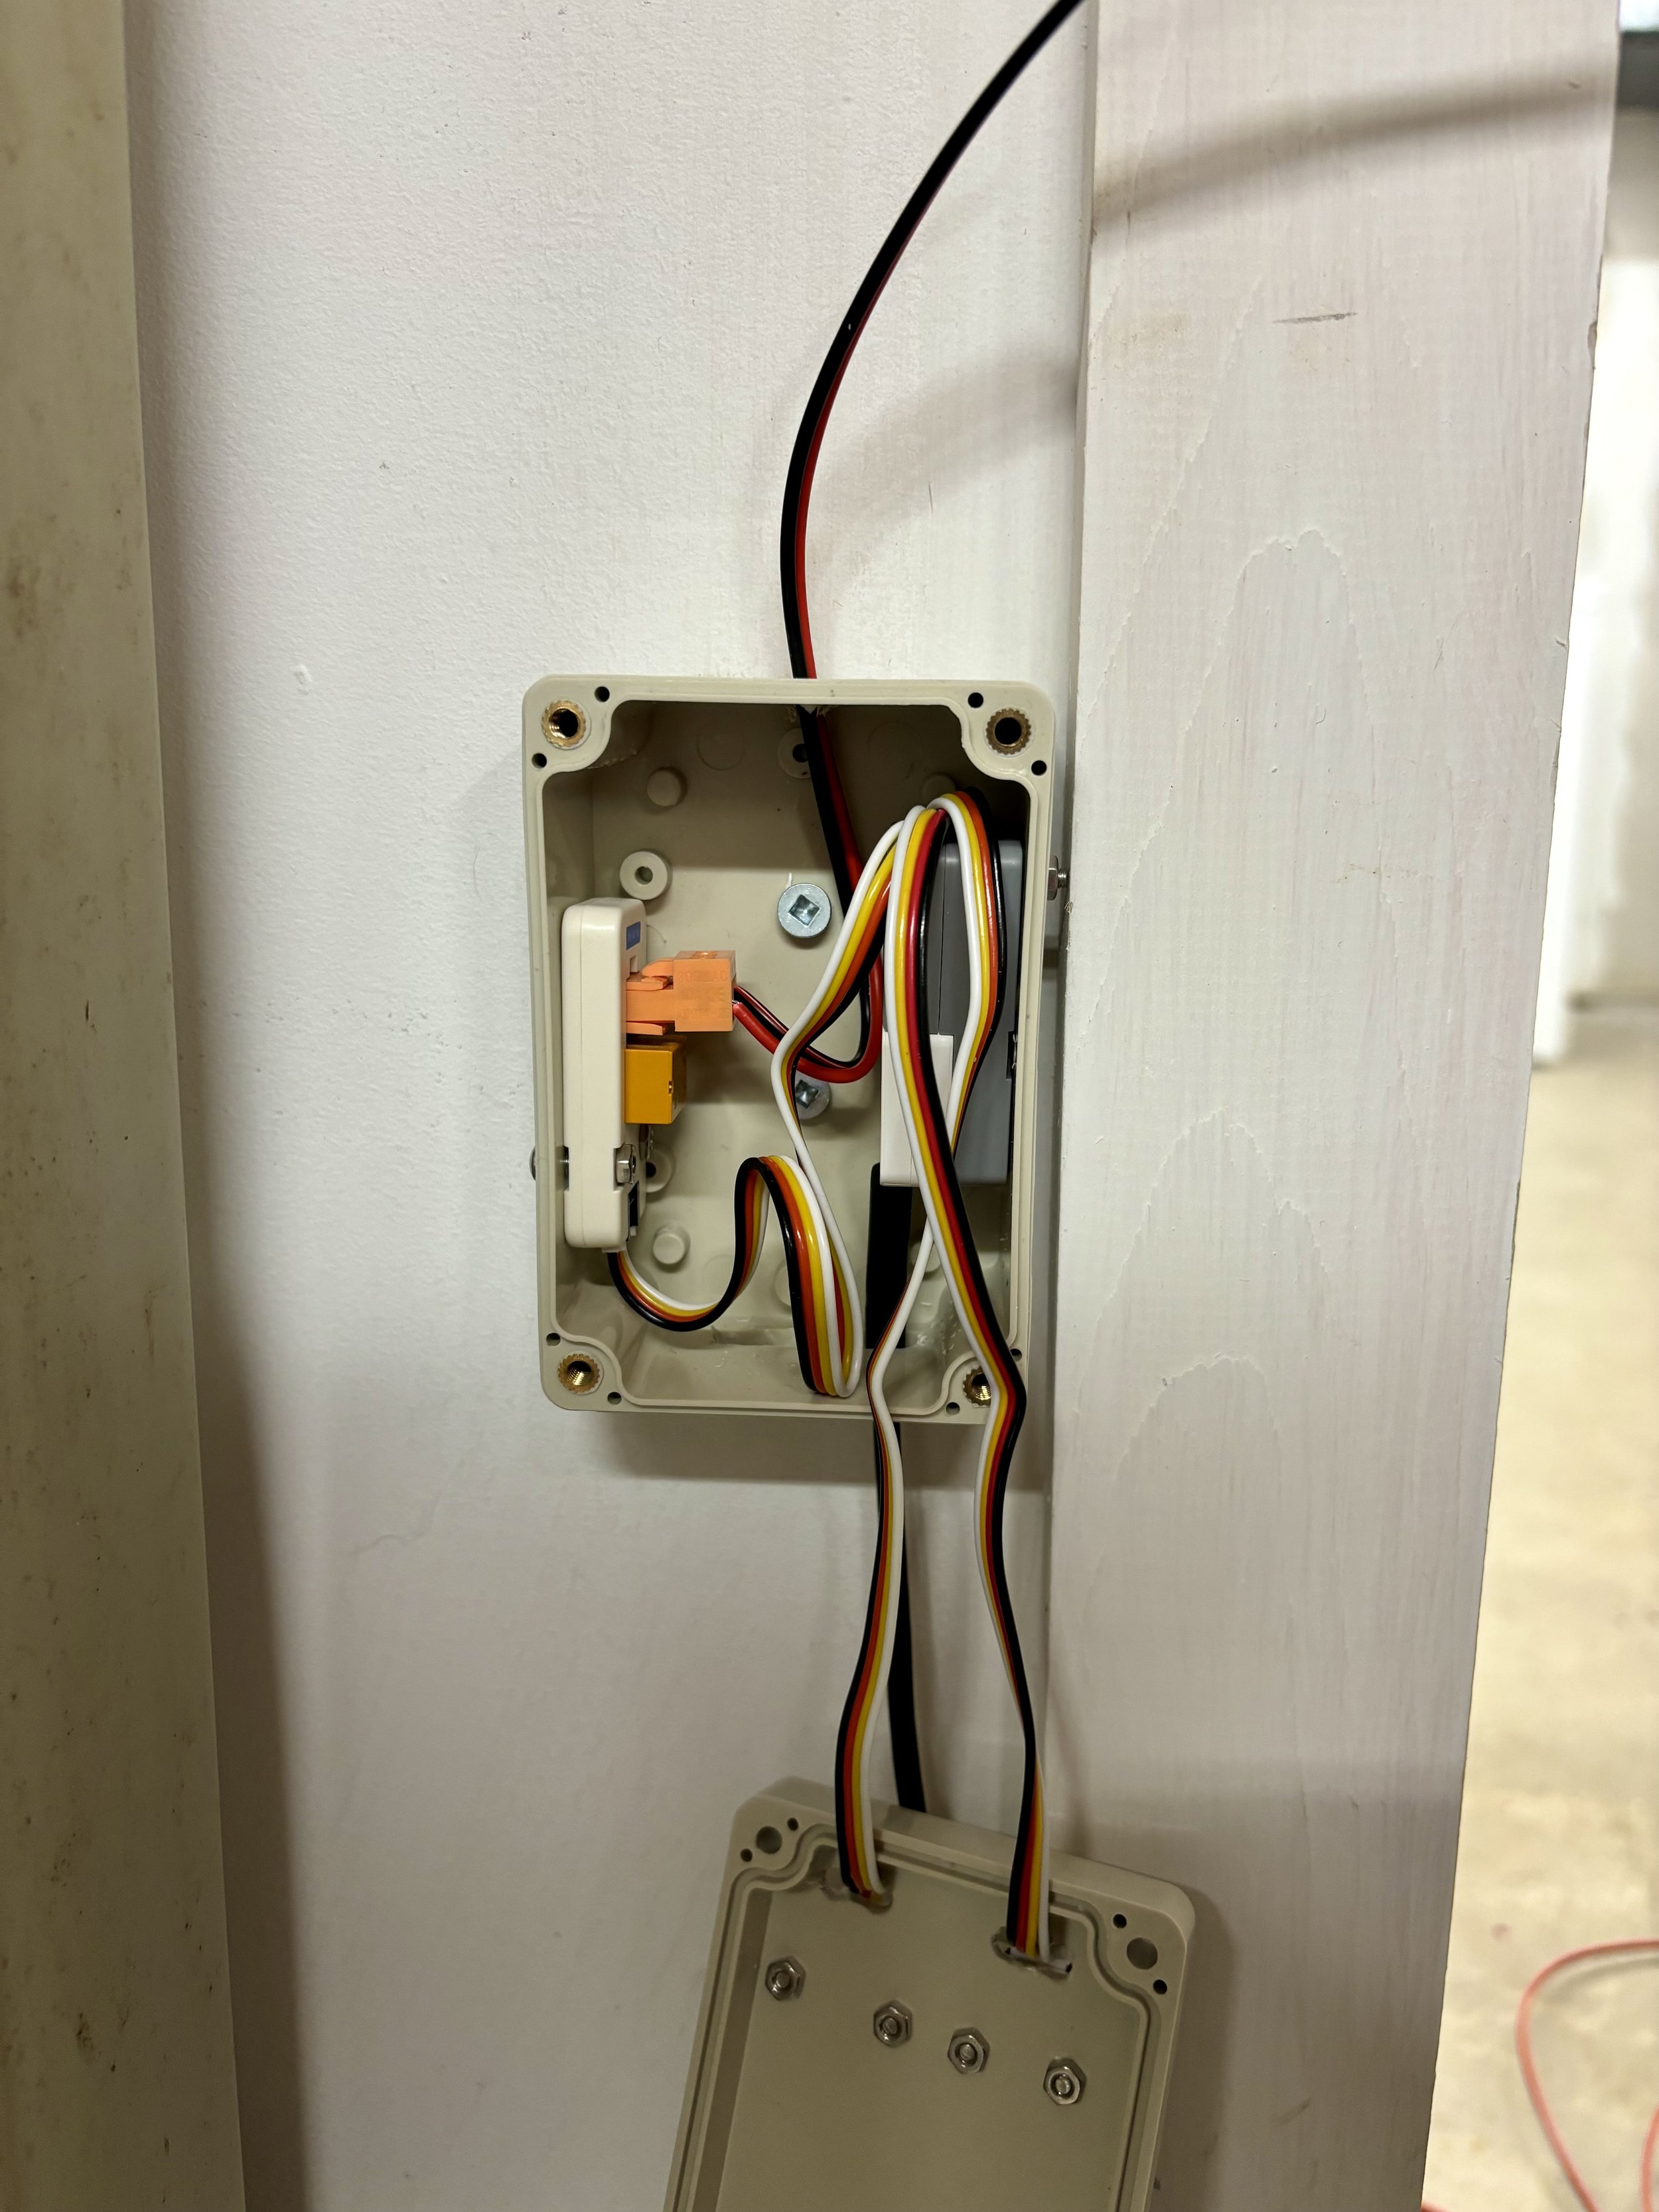
Again, no precanned device on the market, so I built something out with some M5Stack products and threw it in the junction box above! I utilized:
M5Stack AtomS3 Lite
M5Stack AtomPortABC
M5Stack Mini 3A Relay Unit
M5Stack ENV IV Sensor
M5Stack Mini IR Unit
Everything was connected with grove connectors/cables, so wiring it was incredibly easy, and all parts were secured with M3 bolts. The finished product isn’t quite ready for shelves yet, but it looks considerably cleaner than just having things hanging off a power bar. My code for this is below:
esphome:
  name: basement-automator
  friendly_name: Basement Automator
  platformio_options:
    board_build.flash_mode: dio

esp32:
  board: esp32-s3-devkitc-1
  framework:
    type: esp-idf
  variant: esp32s3

# Enable logging
logger:

# Enable Home Assistant API
api:
  encryption:
    key: "SecureKey"

ota:
  password: "SecurePassword"

wifi:
  ssid: !secret wifi_ssid
  password: !secret wifi_password
  manual_ip:
    static_ip: IPAddress
    gateway: Gateway
    subnet: 255.255.255.0
  # Enable fallback hotspot (captive portal) in case wifi connection fails
#  ap:
#    ssid: "Basement-Automator"
#    password: "SecurePassword"

captive_portal:

i2c:
  sda: 38
  scl: 39
  scan: true
  id: bus_1


sensor:
  - platform: sht4x
    temperature:
      name: "Temperature - SHT40"
      id: "temperature_sht40"
    humidity:
      name: "Humidity - SHT40"
      id: "humidity_sht40"
    address: 0x44
    update_interval: 10s
  - platform: bmp280
    temperature:
      name: "Temperature - BMP280"
      id: "temperature_bmp280"
      oversampling: 16x
    pressure:
      name: "Pressure BMP280"
      id: "pressure_bmp280"
    address: 0x76
    update_interval: 10s

    # Relay, toggle it on / off
switch:
  - platform: gpio
    pin: 5
    id: Relay1
    name: "HRV Override"
    inverted: False

remote_receiver:
  pin:
    number: GPIO8
    inverted: true
  dump: all

remote_transmitter:
  pin: GPIO7
  carrier_duty_percent: 50%

climate:
  - platform: midea_ir      # adjust to match your AC unit!
    name: "Basement Dehumidifer"

esp32_ble_tracker:
  scan_parameters:
    #interval: 1100ms
    #window: 1100ms
    active: true

bluetooth_proxy:
  active: true
The pins required for the specific headers were well labeled, so all it required was adding those to the above config. I ran some 18 gauge wire to the overrides on the HRV, and secured the junction box to the wall. I have yet to build the basement dehumidifier automations but that’s a next step. For right now, the build can turn the HRV override on/off depending on washroom humidity, or CO2 levels in the house.
ESPresence
I’ve also scattered a bunch of these AtomS3 Lites around various rooms in the house loaded with ESPresence - these just look for BLE beacons and determine distance a device is from them, which can let me determine which room devices are in - primarily phones. This is a work in progress and I’ve yet to implement these into any automations, but so far with a bit of tweaking I’ve got pretty consistent results for what room my phone is in.
Future Projects
I’ve got two things I want to play around with:
Ikea PM2.5 sensor mod
Ultrasonic distance measure for the garage
For the Ikea PM2.5 sensor, Ikea has a really cheap “dumb” PM2.5 sensor with an easy to mod board. I’d like to do a proof of concept on one of these and would love to wire in a BME680 and a SCD40 for additional readings. I need to find the ideal board but I’ll probably leverage a very tiny ESP32-S3 board, I just need to find one I can use that supports 5V in.
For the ultrasonic distance measure, this one is a bit lazy, but I do plan on using it to detect if I’ve brought in the compost bin or not after garbage day. I like the idea of building this one from components that aren’t plug and play, but I’m going to need to see how I can fit it into an existing project box.
We’ll see what’s after that for the future - I think I’ll be looking to custom build more things on perf board that’s designed to fit into junction boxes, and I want to try figuring out what’s a solid connector option for these little projects as well - Molex or otherwise.


