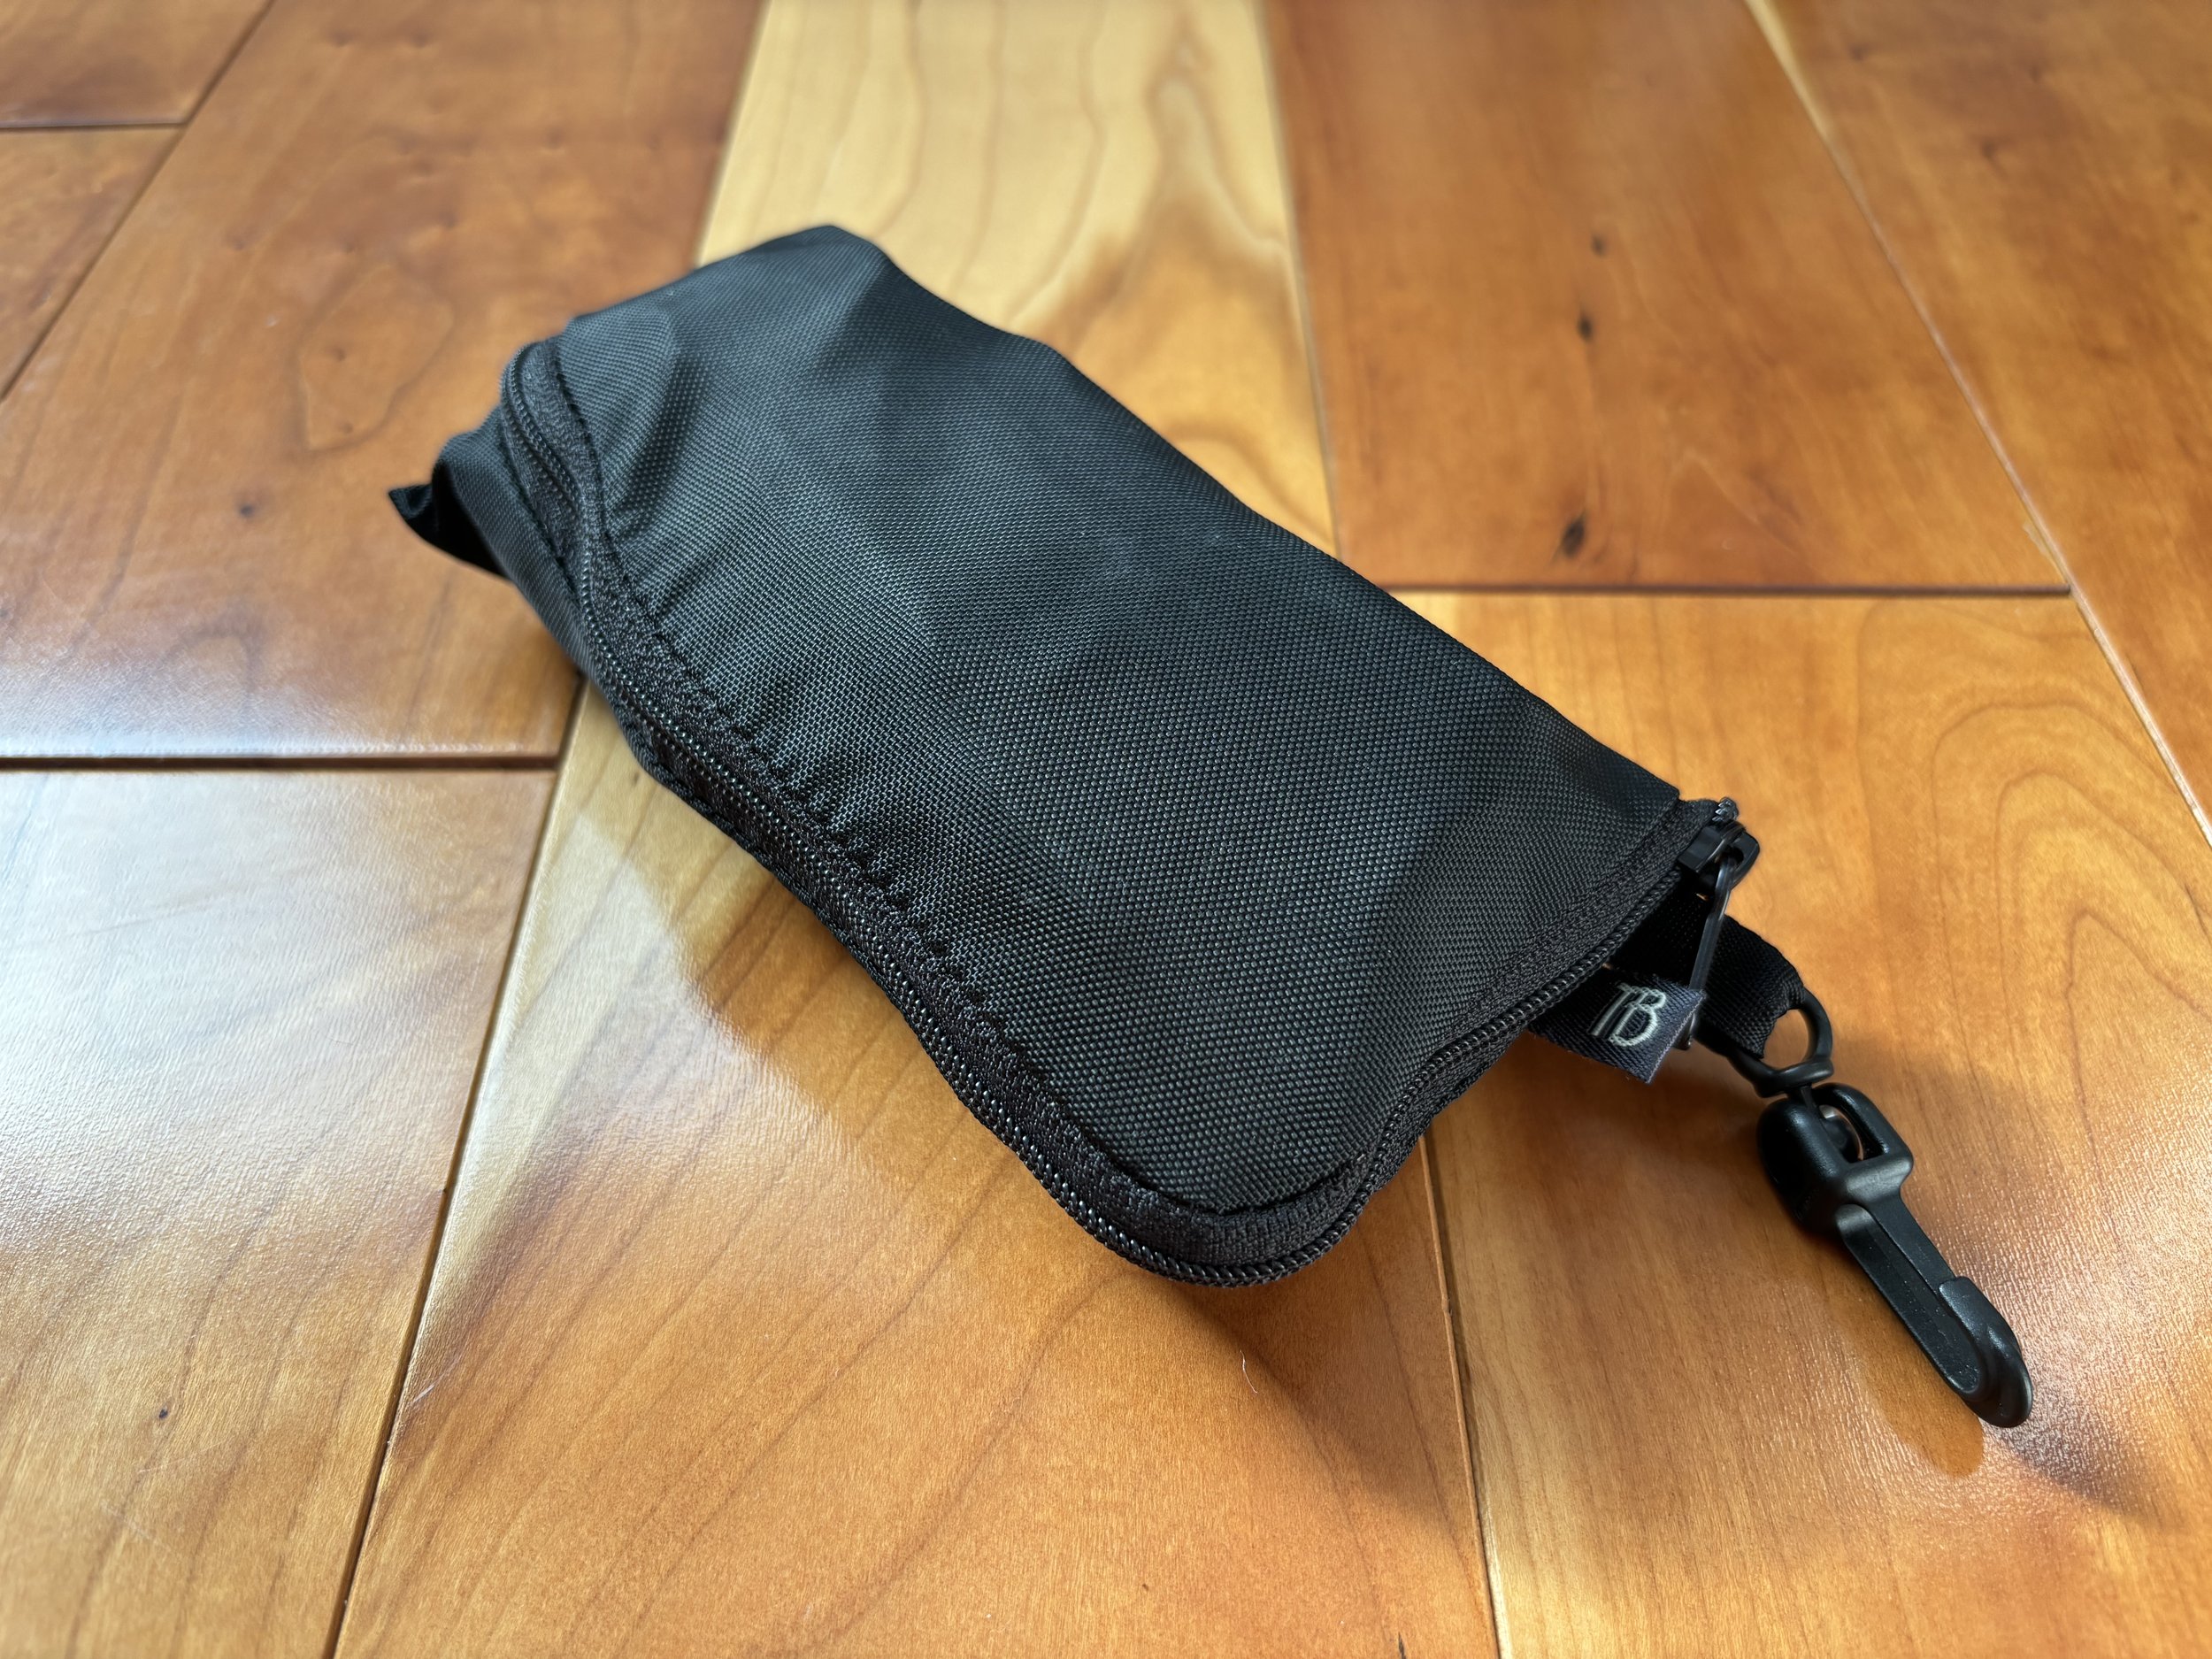
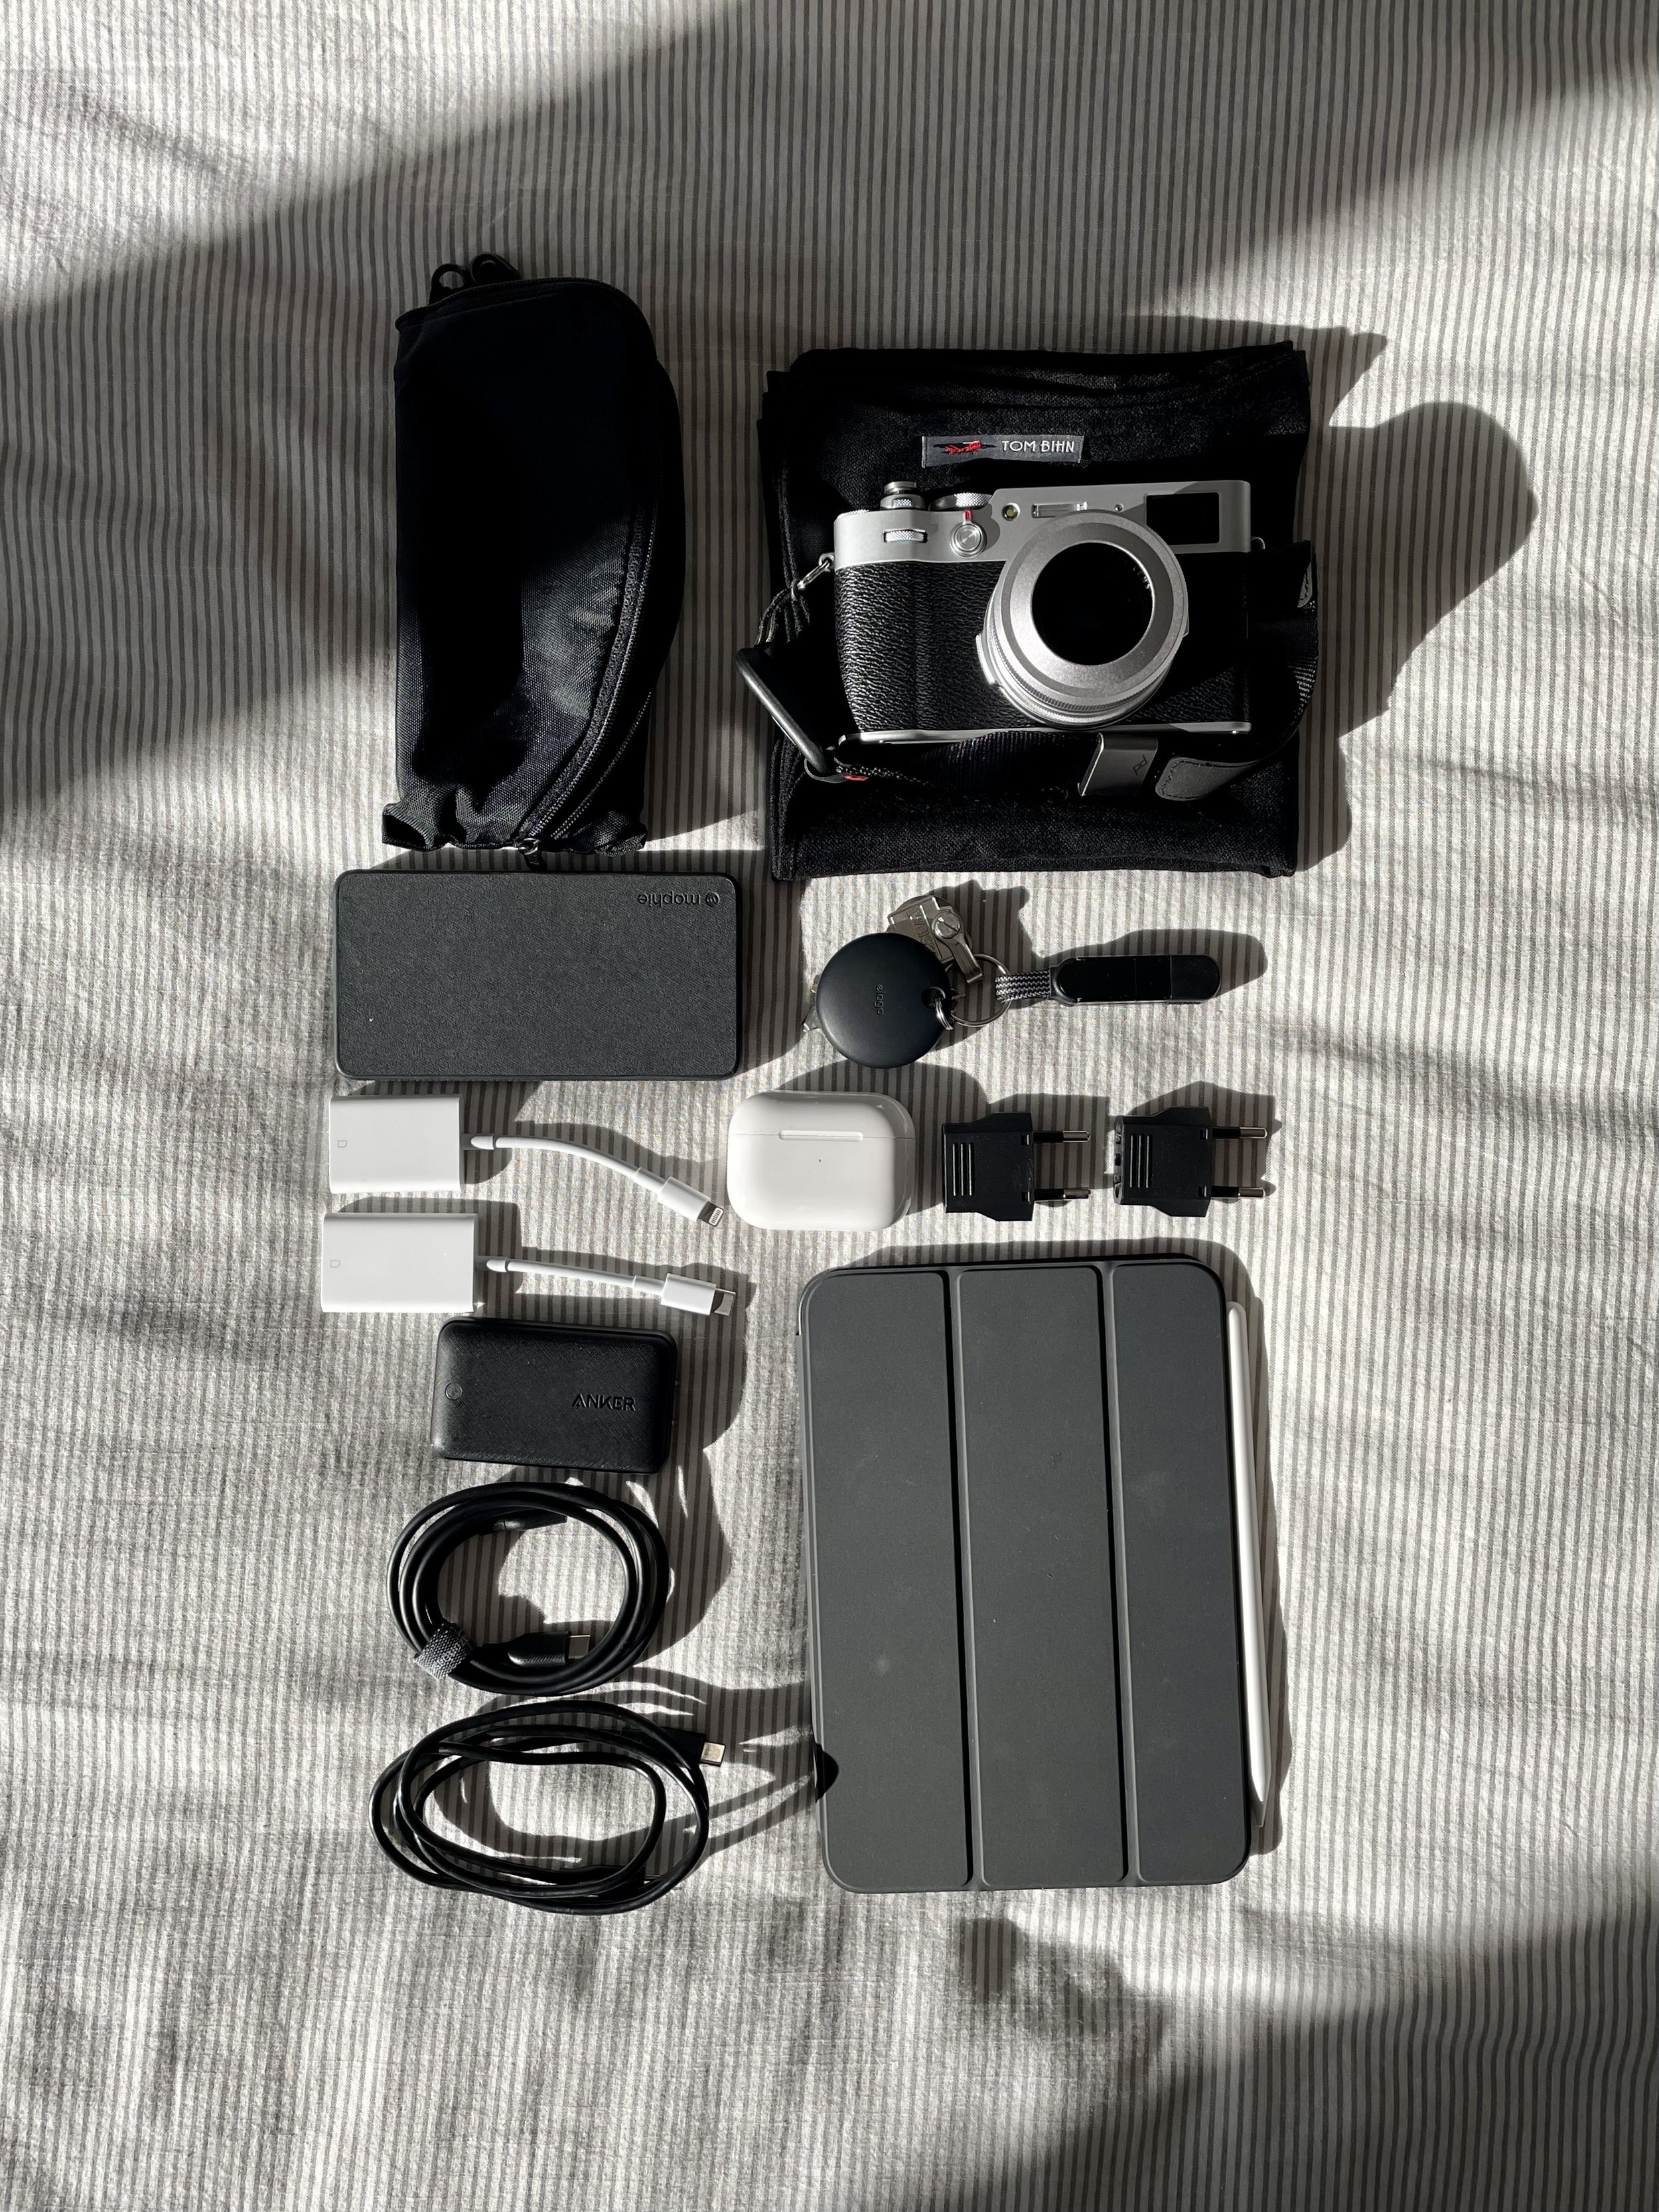
I covered my charging kit, but how about a comprehensive tech kit? The kind of kit I take with me when I take my full technology load anywhere? Well, here it is. With some return to office this kit follows me a couple times a week now. All these goodies live in a Peak Design Tech Pouch, which holds it all with space left.
Cables

I’d probably buy a Powerline Flow Thunderbolt cable if they made them.
Since I’m 99.9% USB-C now, this one is pretty easy. I carry a range to ensure I have fast charging cables for everything, plus a couple higher speed cables just in case I come across a Thunderbolt dock or need to do some high speed transfers. I like a mix of cable lengths as using just really long cables can feel a bit unwieldy.
2x Anker 643 Powerline Flow 100w 6ft USB-C to USB-C cables
2x Anker 643 Powerline Flow 100w 3ft USB-C to USB-C cables
1x Pluggable Thunderbolt 4 100w 3ft USB-C to USB-C cable
1x Samsung 1.5ft USB-C to USB-C 3.2 Gen 1 cable
Adapters and dongles

Again, USB-C, so super simple stuff. This covers plugging in pretty much whatever to my device without a full-on dock.
Apple USB-C Digital AV Multimedia adapter
DLink 2.5gbe USB-C ethernet adapter
Google USB-C to USB-A dongle
Apple USB-C to 3.5mm headphone adapter
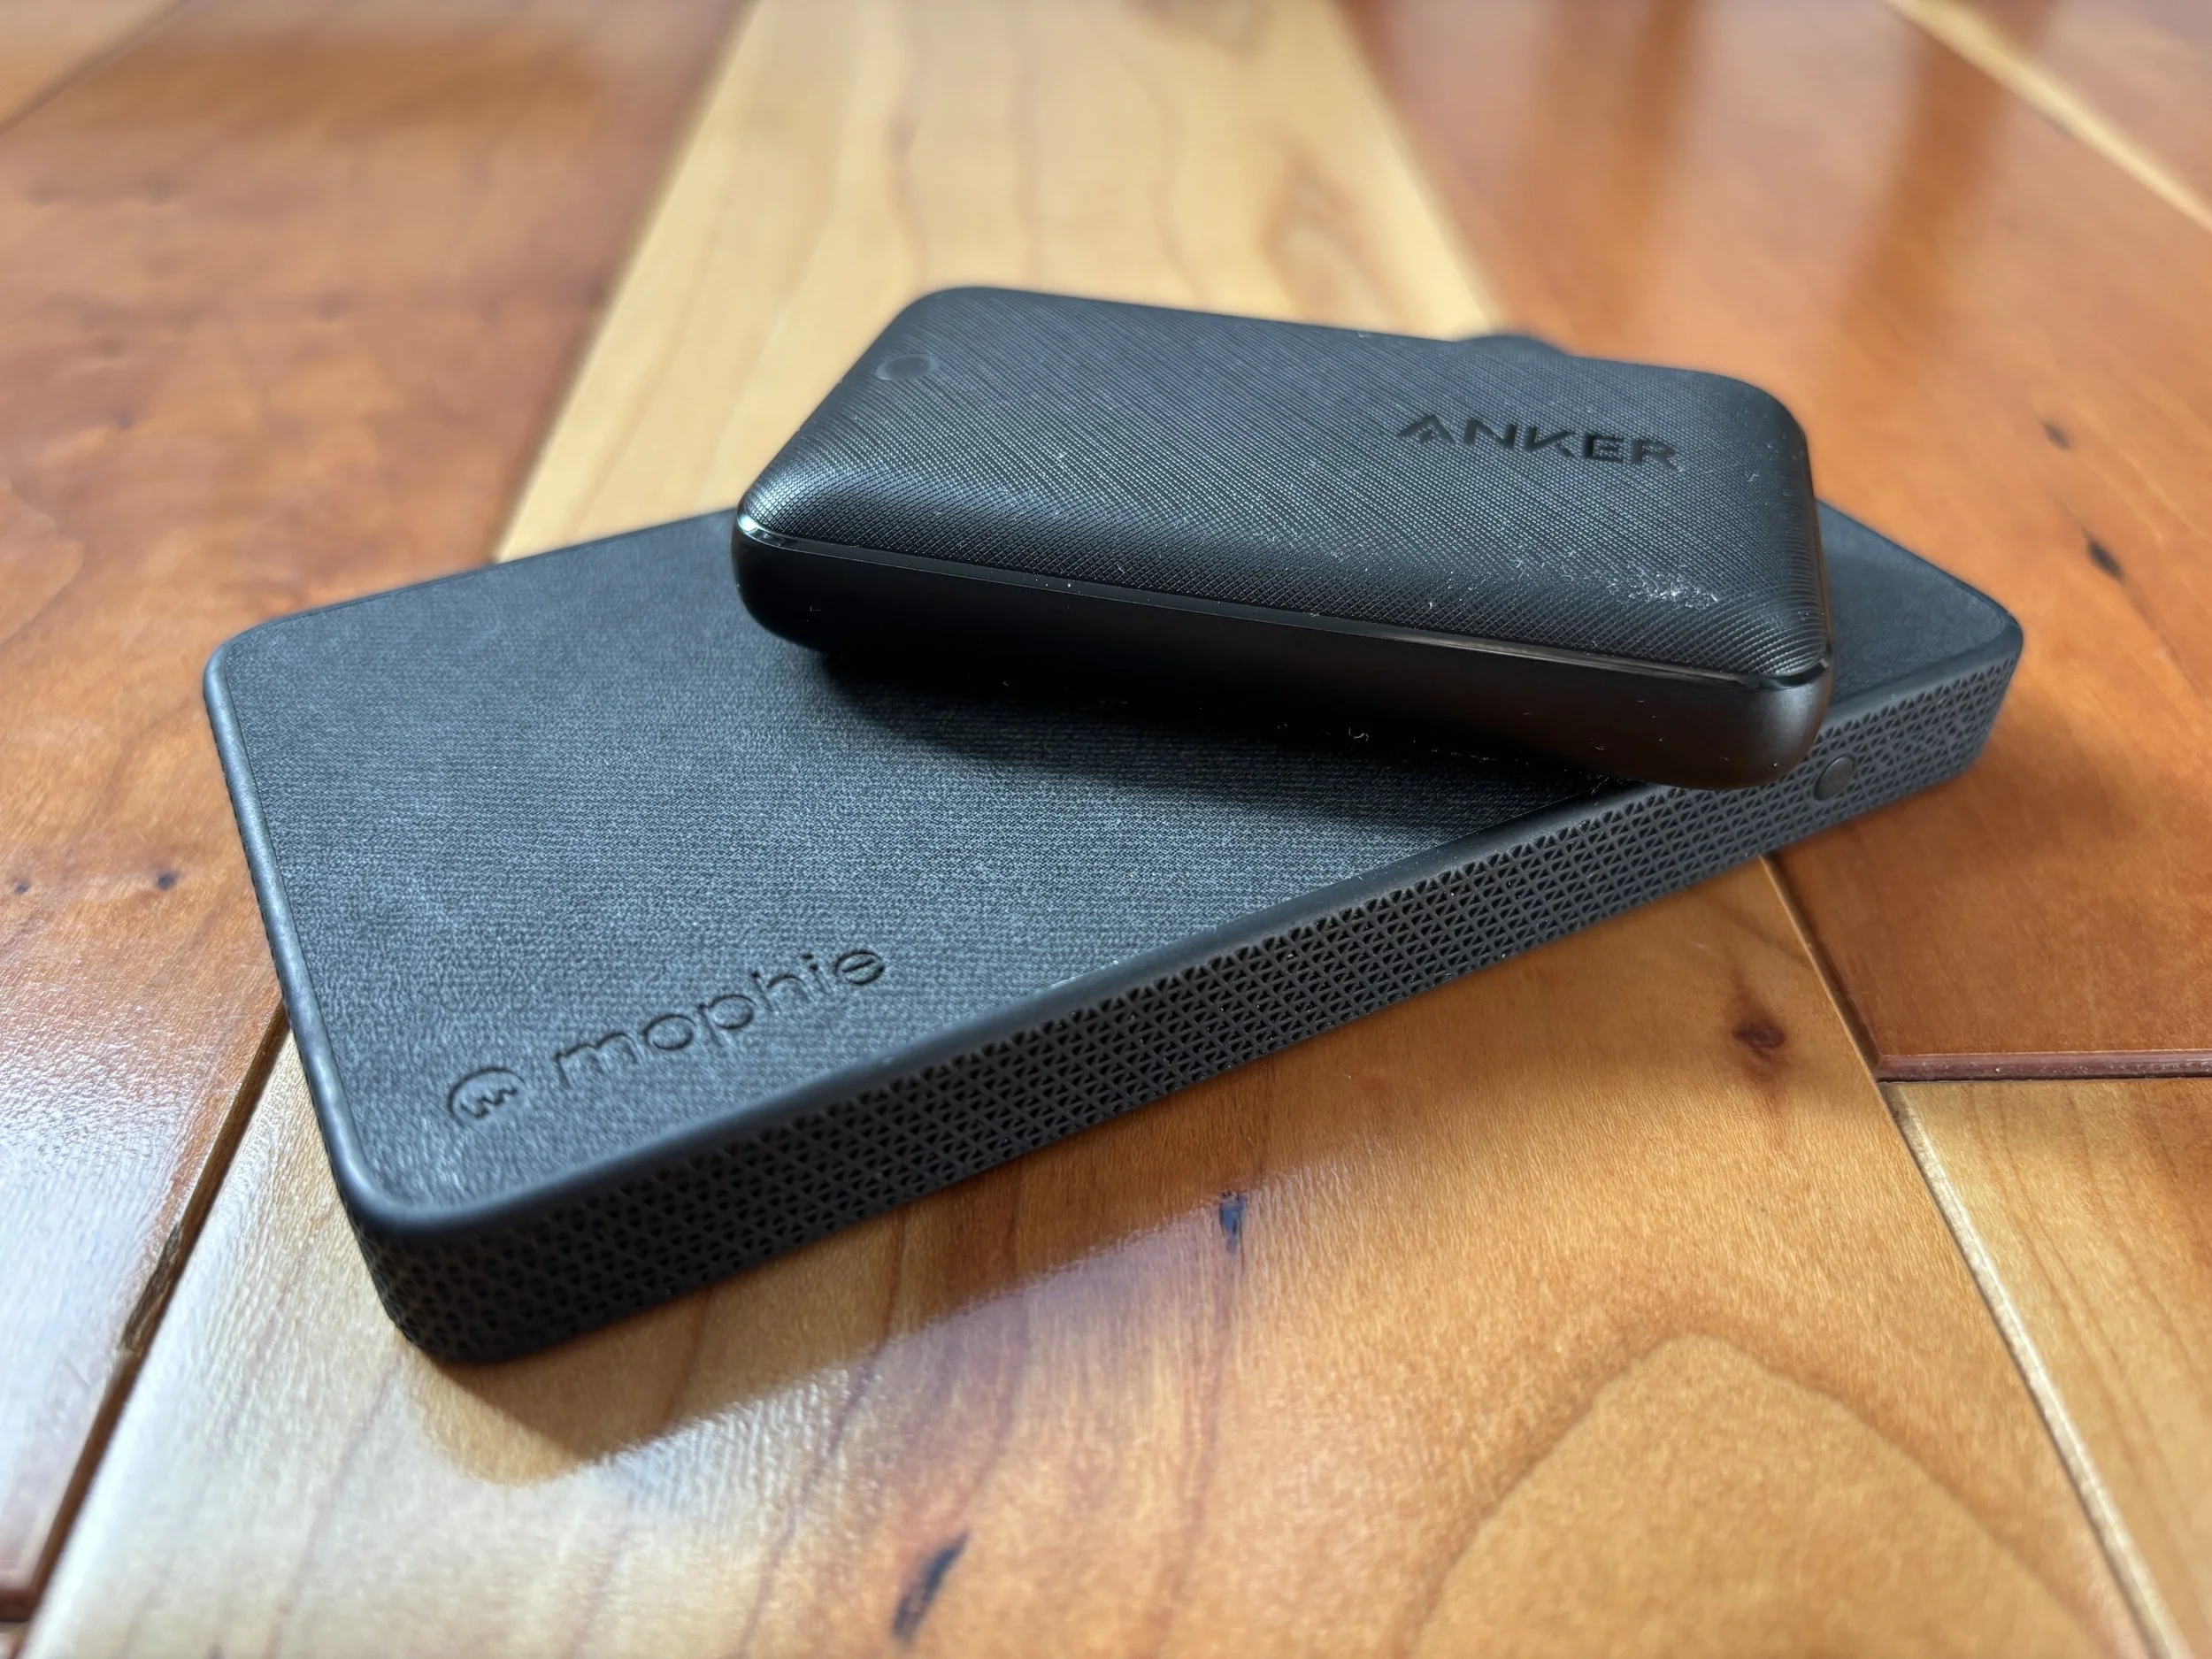
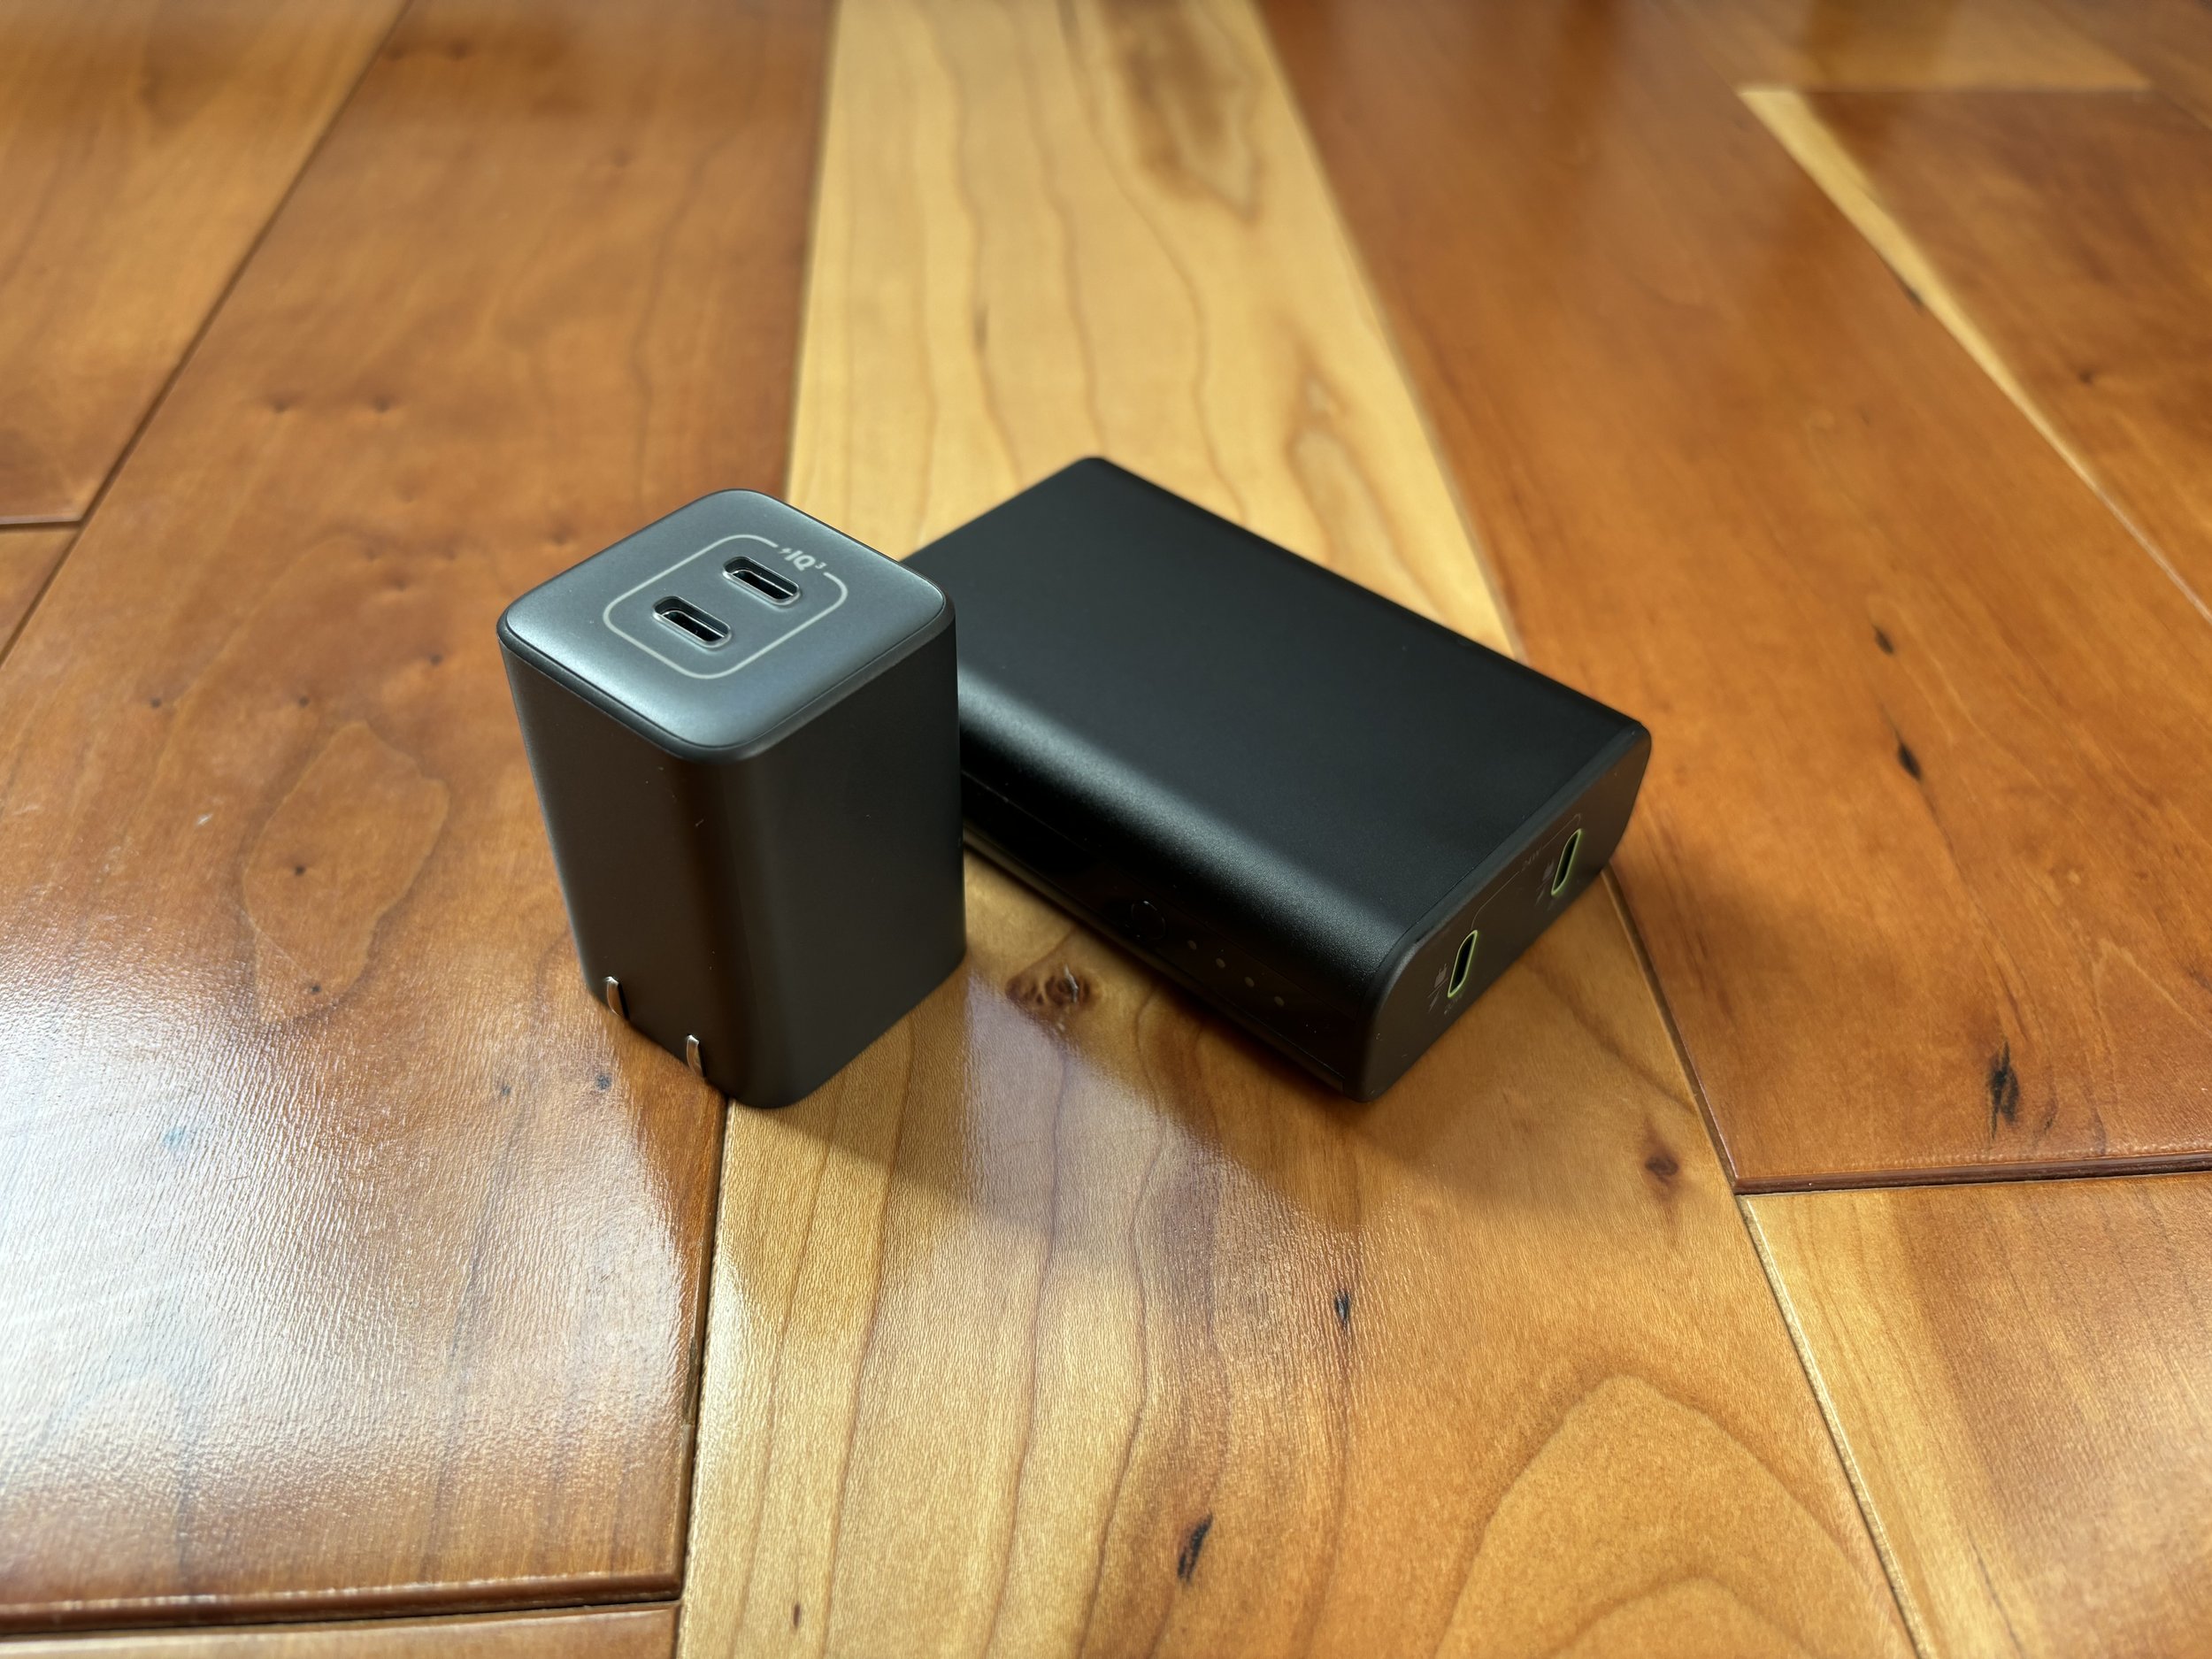
Charging

Hilariously the battery matches the sofa.
There’s a theme here, and it’s USB-C. I’m looking for no type I searched long and hard for no type A port adapters, and this is the smallest most powerful hardware I could muster in those categories. With these I can fast charge my Macbook alone, or split the charge amongst three USB-C devices. And yeah, that’s from the wall charger OR the battery!
Satechi 108w 3 port GAN charger
Mophie Powerstation Pro XL 25000mah 120w battery
Others

Others covers the rest of the stuff that’s good in the bag! Backup data, backup audio, and a great mouse round things out well.
Samsung T5 2TB USB-C SSD
Logitech MX Anywhere 3 mouse
Apple 3.5mm Earpods
Future adds
Everything here works pretty well, very few complaints with what I drag along with me. I’ve been on the fence about adding a bus powered thunderbolt hub to replace the dongles, but the dongles are honestly very nice and cover most of my usages. I’d see a bit of value in adding a Type-C flash drive, or maybe upgrading the SSD to something faster/larger capacity. I’d also consider adding an additional SD card, mostly as a backup to the one in my X100V. For now I’m pretty happy with what I have going on though - This is comprehensive and does everything I need without compromise.